
Key takeaways
- A private lab lets you test Webmin with full root access and no risk.
- Use a VM with 1–2 GB of RAM, a host-only network and snapshots.
- Rehearse logins, updates, firewall changes and recovery before going live.
- Never reuse lab passwords or certificates on production servers.
Before you install Webmin on a server people depend on, it pays to see it working somewhere that does not matter. Public demo sites, where they exist, only show a read-only slice of the interface, and they cannot show how Webmin behaves with your distribution, your firewall or your services. A private Webmin demo lab can. It takes about fifteen minutes to build, costs nothing, and lets you break things on purpose. This guide sets one up and gives you a short list of exercises that reveal more about Webmin than any guided tour.
Why build your own demo
- Full access. You can open every module, including those that change disks, users and firewall rules, which no shared demo would allow.
- Your real stack. Install the same distribution, web server and database you run in production and see exactly how Webmin presents them.
- Safe mistakes. Lock yourself out, delete a user, break the firewall, then restore a snapshot in seconds.
- Training. A lab is the right place to teach a colleague, without handing them production credentials.
Choosing a lab platform
| Platform | Good for | Notes |
|---|---|---|
| VirtualBox | Windows, macOS and Linux desktops | Free, simple host-only networking and snapshots. |
| Hyper-V | Windows Pro and Enterprise | Built in; checkpoints act as snapshots. |
| KVM / virt-manager | Linux desktops and servers | Fast, close to how many hosting providers run VMs. |
| Multipass or LXD | Quick Ubuntu instances | Lightweight; easy to create and destroy. |
| Small cloud VPS | Testing public-facing setups | Costs a little; delete it when finished. |
Containers can work too, with the caveats explained in the Webmin Docker guide, but a VM behaves most like a real server.
Building the lab VM
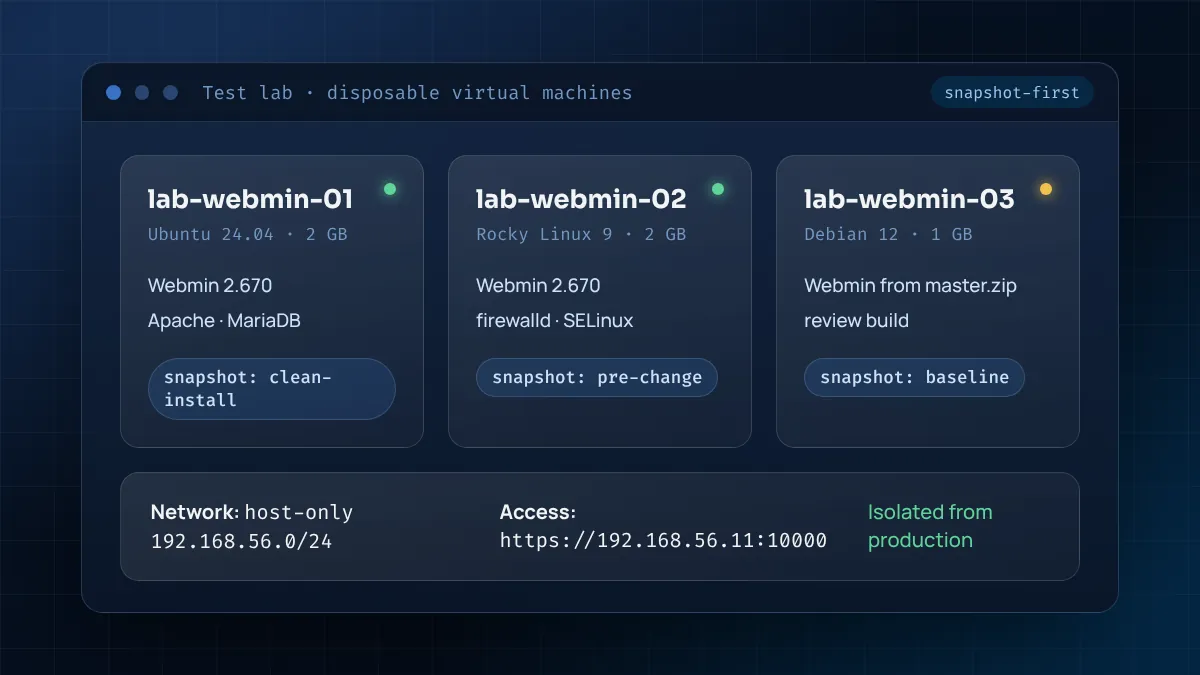
- Create the VM. Give it 1–2 GB of RAM, 2 vCPUs and a 20 GB disk. Install Ubuntu Server 24.04 LTS, Debian 12 or Rocky Linux 9, ideally whichever you run in production.
- Use a host-only or internal network. This gives the VM an address your computer can reach, such as
192.168.56.11, while keeping it off your office or home LAN. Add a second NAT adapter if the VM needs internet access for packages. - Take a snapshot called clean-os. This is your fallback if the install goes wrong.
- Install Webmin from the repository.
sudo apt update && sudo apt install -y curl
curl -o webmin-setup-repo.sh https://raw.githubusercontent.com/webmin/webmin/master/webmin-setup-repo.sh
sudo sh webmin-setup-repo.sh
sudo apt-get install webmin --install-recommends
On Rocky or AlmaLinux, replace the last line withsudo dnf install webmin. - Take a second snapshot called webmin-installed.
- Sign in from your computer at
https://192.168.56.11:10000, using your sudo user on Ubuntu or root on the Red Hat family.
If you want to evaluate unreleased fixes, build a third VM from the GitHub source ZIP using ./setup.sh. Keep it separate from the package-based VM so you can compare the two.
Ten exercises worth doing
Treat the lab like a flight simulator. These tasks cover the situations you are most likely to face on a real server.
- Add a user and a group in Users and Groups, then check
/etc/passwdand/etc/groupover SSH to see exactly what changed. - Create a cron job that writes the date to a file every five minutes, use Run Now, and inspect the output.
- Install Apache from Software Packages, click Refresh Modules, and watch the Apache module move out of Un-used Modules.
- Write a firewall rule that blocks port 80, test it from your computer, then remove it.
- Change the Webmin port to 12321 following the port guide, including the firewall step.
- Lock yourself out on purpose by mistyping the password until your IP is blocked, then recover over SSH.
- Reset a password with
changepass.pl. - Enable two-factor authentication and sign in with a TOTP app.
- Create a restricted Webmin user who can only use System Logs and Bootup and Shutdown, then sign in as that user to confirm the restriction.
- Turn on action logging with diffs, make a change, and review the before-and-after view.
After each risky exercise, restore the webmin-installed snapshot. It takes seconds and keeps every test independent.
Simulating several servers
Clone the VM twice to get three lab hosts. On the first one, open Cluster → Webmin Servers Index and register the other two. Then try Cluster Users and Groups or Cluster Software Packages to push the same change to every host. This is the fastest way to judge whether Webmin's cluster tools fit your fleet before you rely on them.
What to evaluate
A demo is only useful if you come away with answers. Keep notes on:
- which modules you would actually use, and which you would hide;
- how the firewall module interacts with ufw or firewalld on your distribution;
- how long common tasks take compared with your current method;
- whether the permission model lets you give junior staff a safe subset;
- how updates behave, by restoring an older snapshot and running the package upgrade.
Lab hygiene
- Never copy lab passwords, SSH keys or certificates to production.
- Keep the lab off public networks. If you use a cloud VPS, restrict port 10000 to your own IP and delete the server when you are done.
- Label snapshots clearly so you know which state you are restoring.
- Do not store real customer data in the lab, even temporarily.
How long a good evaluation takes
A meaningful evaluation fits into a single focused afternoon. Spend the first half hour building the VM and installing Webmin, an hour on the ten exercises, half an hour on cluster features if you manage more than one server, and the rest writing down what you learned. Spread over a week of short sessions, the lab also becomes a sandbox for checking any change before you make it in production, which is where it pays for itself.
Rebuilding the lab automatically
Once the manual build works, script it so the lab can be recreated at any time. A short cloud-init file or shell script that updates the system, runs the Webmin repository script and installs the package is enough. Tools such as Vagrant or Multipass can apply it when the VM is created. With the build automated, you can test every new Webmin release in a fresh environment within minutes, and you have a tested recipe to reuse on real servers.
Practise a restore
A lab is also the safest place to practise recovery. Use Webmin → Backup Configuration Files to back up the Webmin configuration and a few system modules to a file, make several changes, then restore the backup and confirm everything returns to its previous state. Then do the harder drill: restore the clean-os snapshot, reinstall Webmin and restore the backup onto the fresh system. If that works, you know your production backups will be usable on the day you need them.
Tearing the lab down
When the evaluation ends, delete local VMs or keep only the base snapshot, and destroy any cloud server so it does not keep costing money or sit on the internet unpatched. Revoke any DNS records or certificates you created for the lab, and remove the lab from any password manager entries you shared with colleagues.
Sharing the lab with your team
If several colleagues will evaluate Webmin, export the finished VM as an appliance file (OVA in VirtualBox, or an exported VM in Hyper-V) so everyone starts from the same state. Give each person their own Webmin user rather than sharing the lab root account; it is good practice for production, and it lets you compare notes on how the permission model felt from each role. Collect feedback in one shared document while the experience is fresh.
Lab build checklist
- VM created with 1–2 GB RAM, 2 vCPUs and a 20 GB disk.
- Host-only or internal network configured, NAT added only for package downloads.
- Snapshots taken: clean-os and webmin-installed.
- Webmin installed from the official repository and reachable at
https://lab-ip:10000. - Exercises recorded with notes on what worked, what surprised you and what you would change.
- Lab passwords stored separately from production credentials.
Frequently asked questions
Is there an official public Webmin demo?
Availability of hosted demos changes over time. A private lab gives you full access and shows Webmin with your own distribution and services.
How much RAM does a Webmin lab VM need?
One gigabyte is enough for Webmin alone; two gigabytes leaves room for Apache and a database.
Can I test Webmin without installing anything on my PC?
Yes, a small cloud VPS works. Restrict port 10000 to your IP and delete the server afterwards.
Should I demo the GitHub master version?
Use it in a separate VM if you want to preview upcoming changes, and keep the package build as your baseline.
From demo to production
Once you are comfortable, write down the exact steps you followed in the lab: repository setup, firewall rules, certificate, 2FA, user roles and modules to hide. That list becomes your production runbook, and because you have already rehearsed it, the real install is uneventful. The Ubuntu installation guide and login guide cover the production steps in detail.